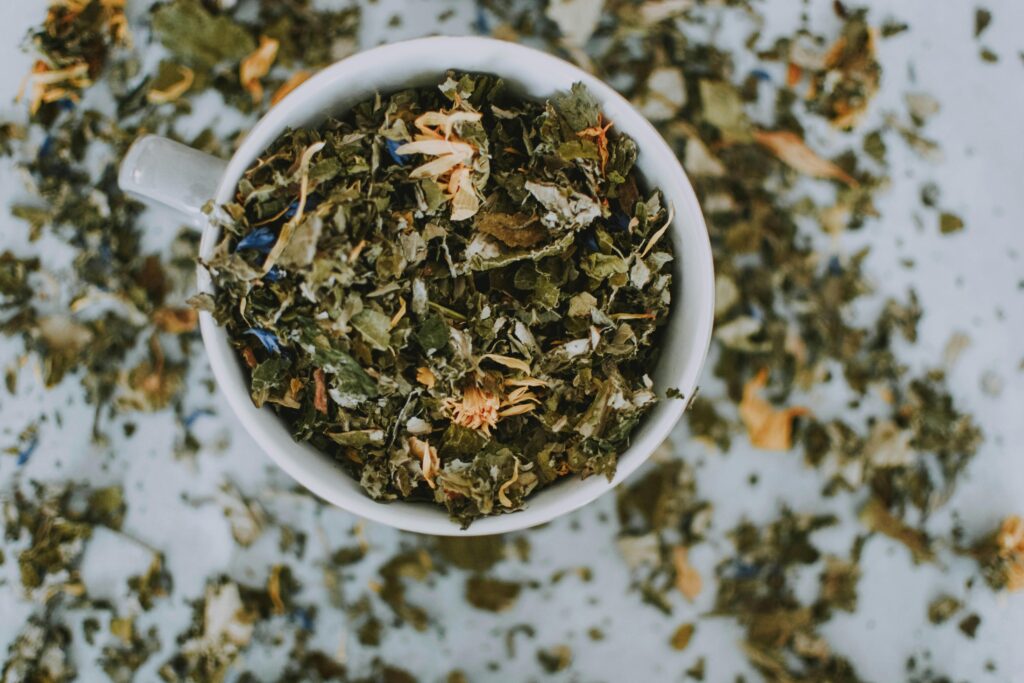
So I’m told that building an herbal wellness cabinet is important to your growth and education as an herbalist. It’s where you put the items you use for your everyday practice of herbalism. It’s where you put the dried herbs, salves (ointment), tinctures (plant extract dissolved in ethanol like vodka), and supplies. It needs to be in an area away from direct sunlight, heat, or moisture as heat and light can reduce the shelf life of herbs, and moisture can cause mold growth.
Your herbal wellness cabinet is like the first aid kit of herbalism. It will have all the essentials you need or merely have to help you live your best herbalist life.

Right now I am mostly getting my materials from online market places (like Amazon) because I don’t have reliable transportation at the moment and don’t really live in an urban area. I am also part of an affiliate program so some of the recommendations will lead to affiliate sites where I may earn money — at no extra cost to you — for qualifying purchases which helps to support the blog.
Getting Started:
- Glass Mason Jars (for dried herbs and blends).
Why: Glass mason jars are essential for any herbal wellness cabinet because they provide airtight, non-reactive storage that helps preserve the potency, aroma, and freshness of dried herbs and blends. Unlike plastic, glass doesn’t leach chemicals or absorb oils, making it the safest and most sustainable option for long-term herbal storage. - Reusable Labels & Chalk Marker
Why: Reusable labels and a chalk marker help you clearly identify each herb, its storage date, and its purpose—preventing confusion and waste. The reusable design makes it easy to update jars as your collection evolves, keeping your herbal setup organized, safe, and sustainable. - Stainless Steel Tea Infuser
Why: A stainless steel tea infuser allows you to easily brew loose-leaf herbs without mess or waste. It’s durable, easy to clean, and ensures you get the full flavor and benefits of your herbal blends—making daily tea rituals simple and efficient. - Fine Mesh Strainer or Cheesecloth
Why: A fine mesh strainer or cheesecloth allows you to strain out herbs, roots, and plant particles from teas, infusions, tinctures, and oil blends. This ensures a smooth, clean final product that’s both pleasant to use and safe for internal or topical applications. - Mortar and Pestle Set
Why: A mortar and pestle set lets you grind, crush, and activate dried herbs, seeds, and roots just before use—maximizing their potency and aroma. It’s a timeless, hands-on tool that connects you to the preparation process and gives you greater control over your herbal remedies. - Amber Glass Bottles (for tinctures/oils)
Why: Amber glass bottles protect light-sensitive remedies like tinctures, oils, and extracts from UV exposure, which can degrade their potency over time. The dark glass also helps preserve freshness and extends shelf life, making them ideal for safe, long-term storage of your handmade herbal preparations.
Step 2: Stock Up on Beginner Herbs
Start with versatile herbs that support digestion, stress relief, immunity, and relaxation. The dried versions below are easy to use and great for tea, salves, or infusions.
- Chamomile Flowers – For sleep and anxiety
- Peppermint Leaf – For nausea and headaches
- Lemon Balm – Uplifting and antiviral
- Lavender Buds – Calming aroma, sleep support
- Ginger Root – Anti-inflammatory and immune-boosting
- Tulsi (Holy Basil) – Balances stress, boosts energy
- Calendula Flowers – Great for skin and tea
I look for USDA Organic, Non-GMO certifications when possible.
Step 3: Store Everything Safely
Good storage preserves your herbs’ potency and extends their shelf life.
Storage Tips:
- Keep herbs in airtight glass jars away from light, moisture, and heat.
- Label every jar with the herb name + date opened.
- Store tinctures and oils in dark amber bottles to protect from light.
- Refresh dried herbs every 6–12 months.
That is all I know at the moment. The starter herbs are debatable as i saw quite a few different suggestions for this area. I’m sure any herbs are fine. Just what you have or what’s available works. I’m starting my cabinet with just a few herbs that I had lying around that were purchased some time in the past (lol), like basil, turmeric, and garlic. I have stainless steel tea infusers, a mortar and pestle set, and mesh strainers. I also have an electric and non-electric(?) kettle that I keep near by for teas. I have a lot of teas in the area, either loose, or in pre-made bags that I’ve acquired at the start of this journey. Mainly because teas are inexpensive and readily available at most grocers and online market places. I also love a good cup of tea so that helps.
Bonus: Keeping a Journal
Track your blends, recipes, effects, and notes. Journals will be extremely helpful at the beginning of your journey to keep track of what works and what doesn’t in recipes, teas, salve, and tinctures.
Final Thoughts
Your herbal wellness cabinet doesn’t need to be complicated or expensive. Start with a few herbs, a few tools, and a little curiosity. As your confidence grows, so will your knowledge of what your body needs and how nature can support you. At least this is what I hope. I just assume that as I learn, I will gather more materials and need a place for my stuff. It’ll be a reflection of my growth and movement toward an herbalist lifestyle. Mine is minuscule at the moment but I’m hoping in about a year, It’ll grow into something I can use everyday.
I’ll keep you updated on the growth and the things I add along the way. Leave a comment about how you are starting or started your wellness cabinet. I’m interested to know what you started with, what you use everyday, or what you think are essentials for your cabinet.
On that note, I hope you all have a wonderful day and enjoy this journey into herbalism.
